
Start Deployment
This guide shows you how to set up and run OpenClaw Ultra with the one-click deployment flow. Follow the steps below to get your first AI automation running in minutes.
Deploy Now (One-Click Setup)
- Open OpenClaw Ultra
- Click
Deploy Nowⓘ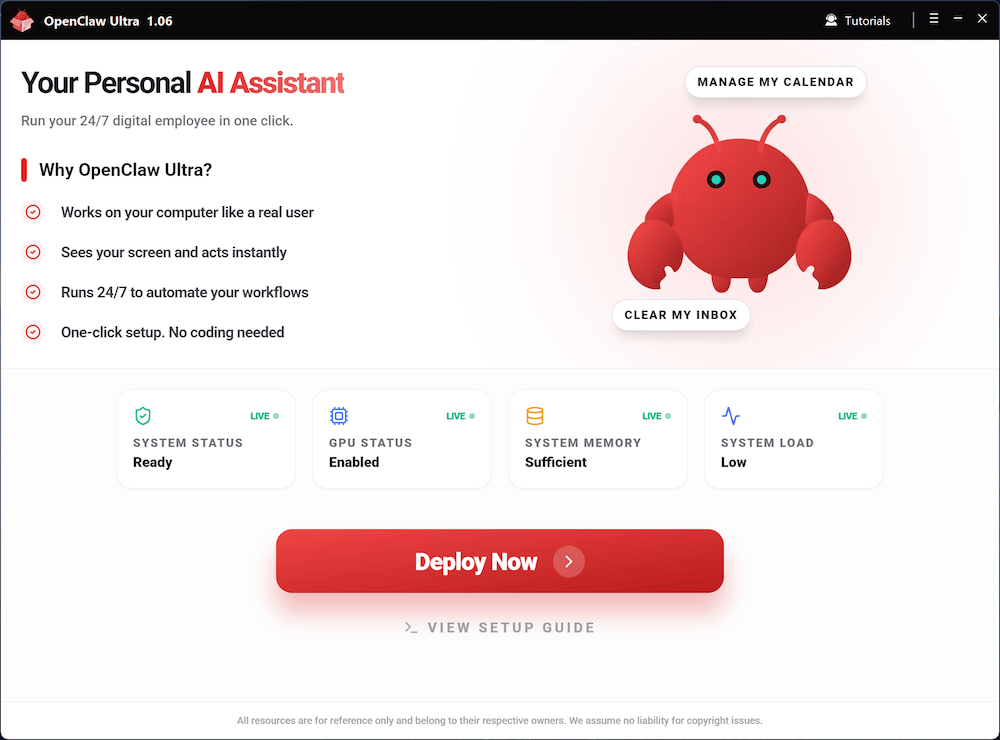
- Select a
Department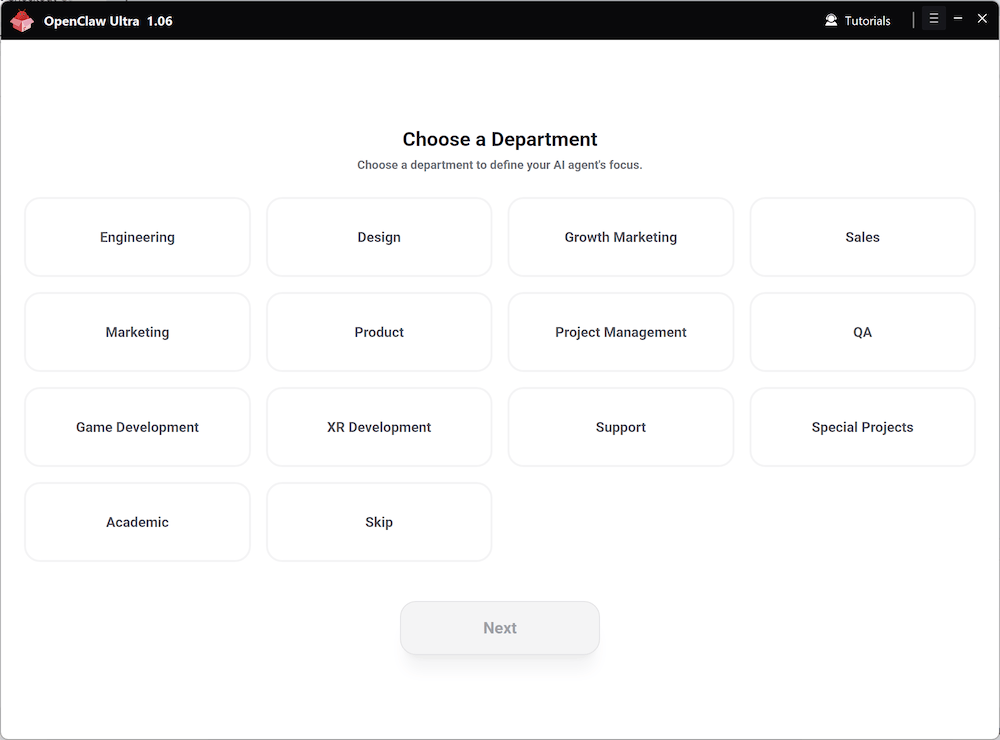
- Choose an
Agent Role(Not sure? ClickSkipor see Choose Your Agent Role )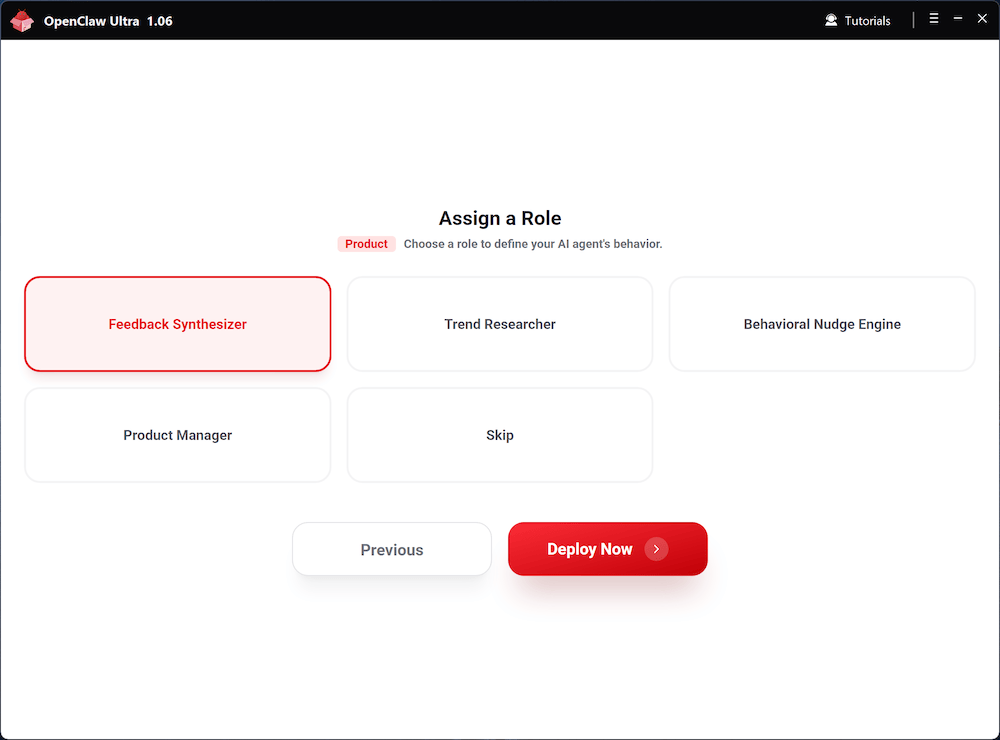
- Wait for the deployment to complete automatically, then click
Start Automation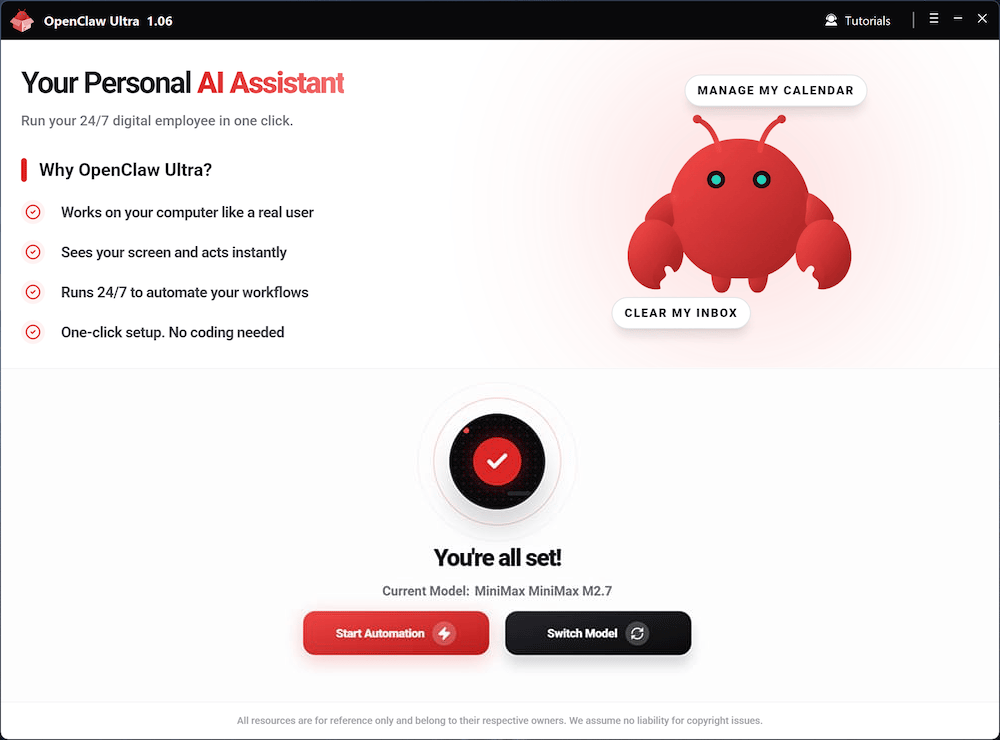
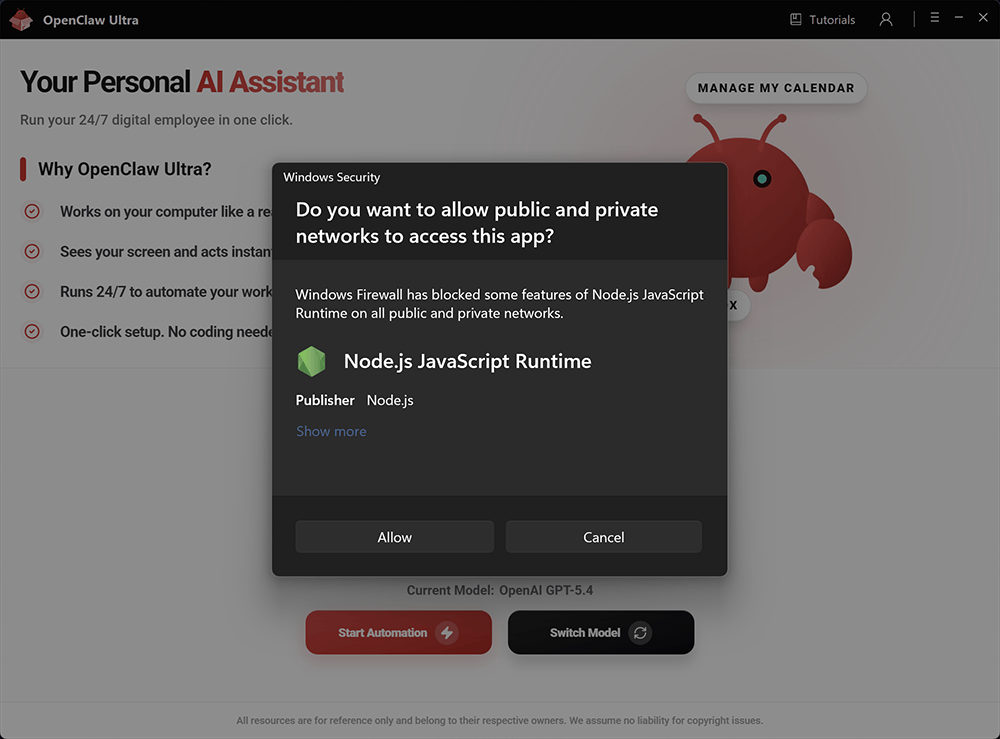
- OpenClaw runs on Node.js internally. If your system prompts you to allow Node.js to run, click Allow. Blocking Node.js will prevent OpenClaw from functioning properly.
Model Selection Tips
| AI Provider | Model | Features |
|---|---|---|
| OpenAI | GPT-5.4 | Complex reasoning |
| OpenAI | GPT-5.4 Mini | Ultra fast |
| OpenAI | GPT-5.3 Codex | Expert coding |
| OpenAI | GPT-4o Mini | Everyday tasks |
| Google Gemini | Gemini 3.1 Flash | Instant responses |
| Google Gemini | Gemini 3.1 Pro | Creative multimodal |
| Qwen | Qwen3 Max | Powerful versatile |
| Qwen | Qwen3 Coder | Expert coding |
| xAI | Grok-4.2 | Real-time insights |
| DeepSeek | DeepSeek V3.2 | Leading open-source |
| Moonshot Kimi | Kimi 2.5 | Deeper reasoning |
| Anthropic | Claude Sonnet 4.6 | Advanced coding |
| Anthropic | Claude Opus 4.6 | Deep programming |
| MiniMax | MiniMax M2.7 | Agentic Tasks |
After deployment, open the OpenClaw Chat interface. You'll use it to start your automations.
WebUI Quick Tour
INFO
OpenClaw detects your language preference in this order: Browser Language first, then System Language. If the UI language is not what you want, you can change it manually using the settings below.
Sidebar Navigation
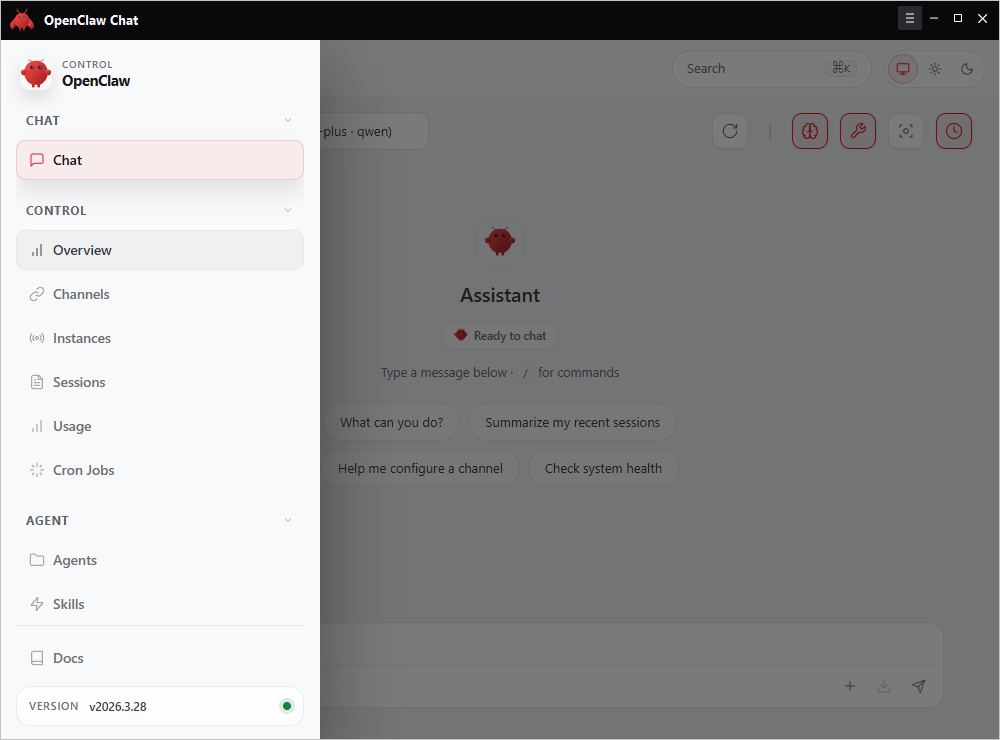
The sidebar organizes features into groups:
| Group | Tabs | Description |
|---|---|---|
| CHAT | Chat | Main conversation interface |
| CONTROL | Overview, Channels, Instances, Sessions, Usage, Cron Jobs | System status, connections, and task management |
| AGENT | Agents, Skills | Configure agent roles and capabilities |
| Docs | Docs | Access documentation |
Language Settings
You can change the interface language from the Overview page.
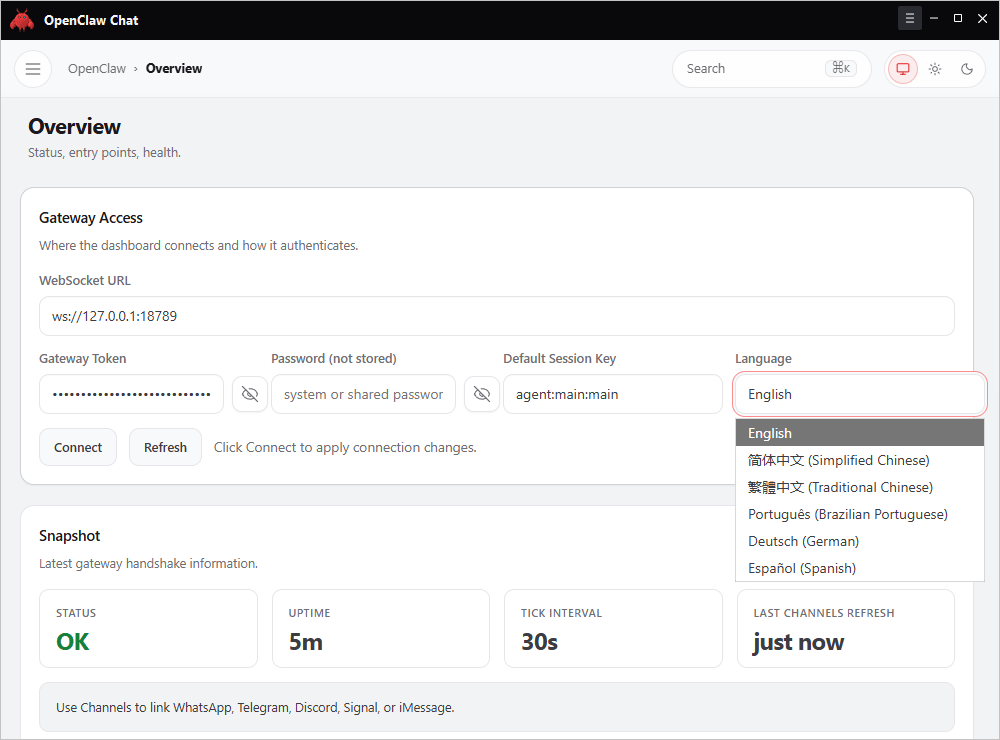
- Go to Control → Overview
- Find the Language dropdown under Gateway Access
- Select your preferred language and click Connect or Refresh to apply
Additional
- Switch models: Switch Models
- License and device binding: License & Device Binding
- Payment and upgrade details: Payment Guide
- Pro skills guide: Pro Ways to Create Skills